Create Resources
In this tutorial, you will create a new AWS resource. Specifically, you'll build out a shared AWS RDS database from the OPA on AWS interface which can then be accessed by multiple applications.
This tutorial assumes that you have run the Create an Environment tutorial and expects input values from that setup. If you have created different Environment entities, then substitute the appropriate values.
Creating an RDS Database resource
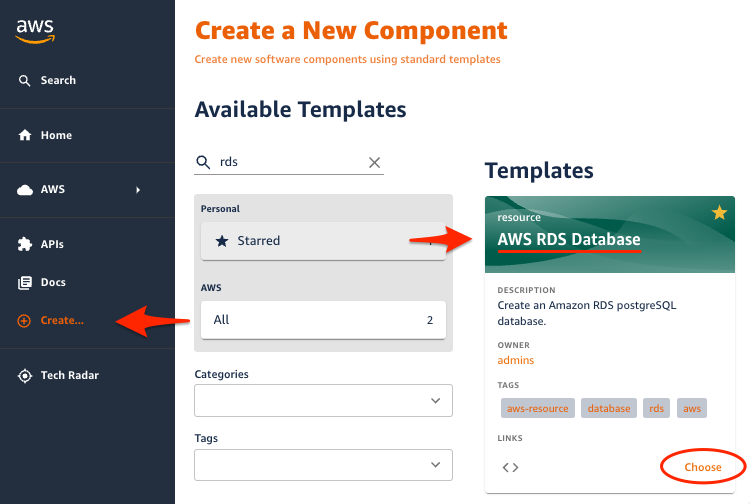
1. In the OPA on AWS interface, select the Create... menu option in the left navigation. Search for and choose the AWS RDS Database template.
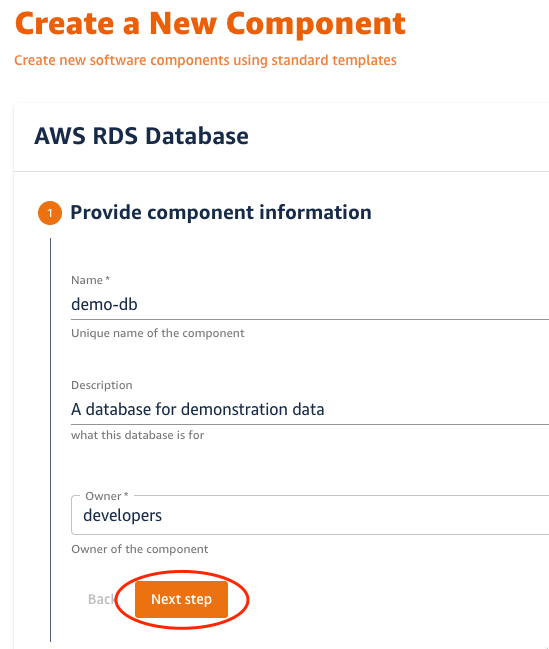
2. Provide information about the resource and select Next Step
| Parameter | Value | Description |
|---|---|---|
| Name | demo-db | A unique identifier for the database |
| Description | A database for demonstration data | Describes the database's purpose |
| Owner | Select a group from the drop-down list to own the Resource | The group or user that will be responsible for the entity |
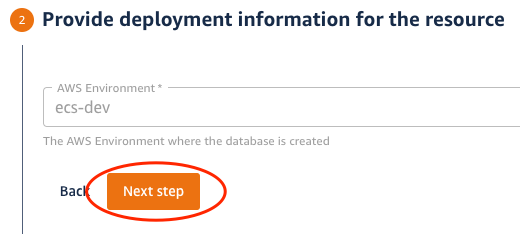
3. Next, provide deployment information for the resource and select Next Step
| Parameter | Value | Description |
|---|---|---|
| AWS Environment | the ecs-dev environment will be pre-selected since it is the only environment available | The AWS Environment in which you want to deploy your application to. The environment that we created in a previous tutorial will already be selected for you |
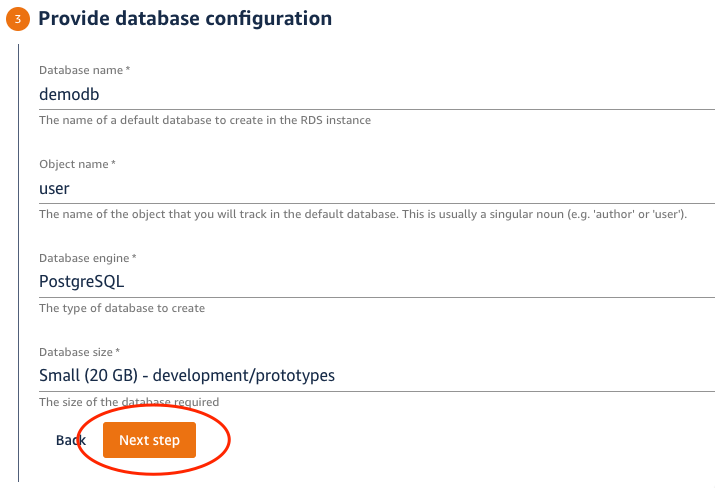
4. Provide database configuration information and select Next Step
| Parameter | Value | Description |
|---|---|---|
| Database Name | demodb | The name of a default database to create in the RDS instance |
| Object Name | user | The name of the object that you will track in the default database. |
| Database Engine | Select PostgreSQL | The engine of the SQL database |
| Database Size | Select Small (20GB) | The size of the database that will be deployed |
5. Provide Repository information and select Next Step
Choose a repository for this database's infrastructure source code and entity information - you can use demo-db
6. Create the database by clicking the Create button
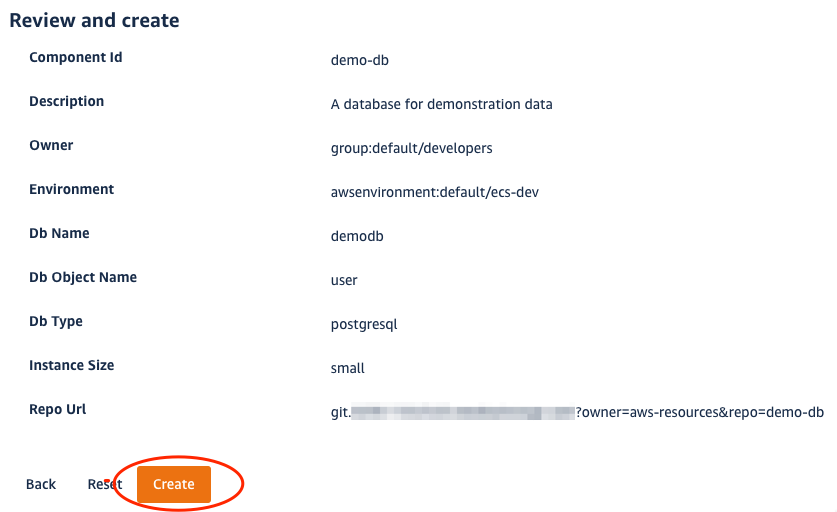
The template scaffolding action will fetch a catalog-info.yaml file (used to define entities), replace the placeholders with our input we just provided, push the file to a new repo, and register it to the Backstage catalog. A CI/CD pipeline in our new repository will begin executing to provision the new database. You can monitor the progress of the pipeline in the "CI/CD" tab of the new resource entity.